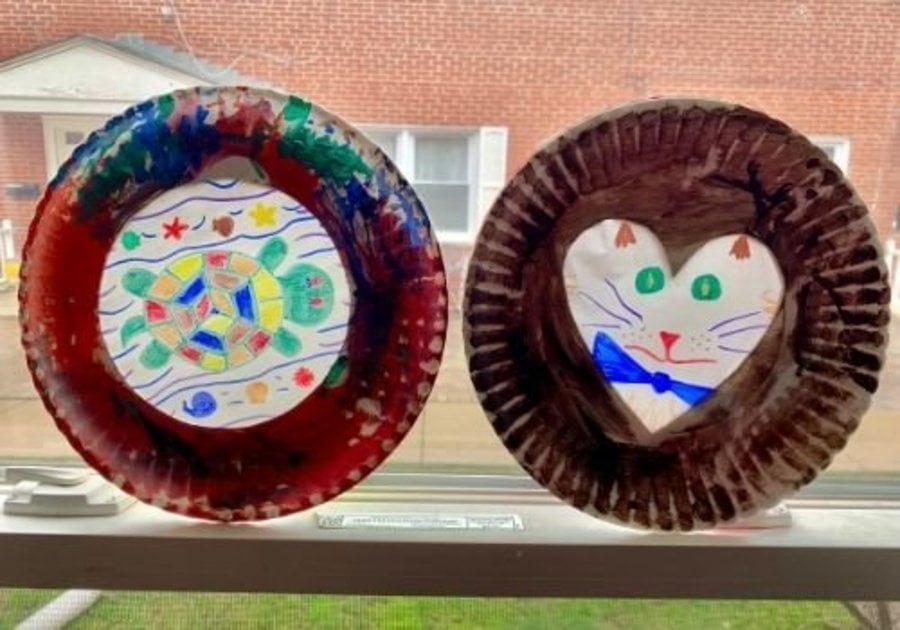
I love finding crafts I can do with my 4-year-old daughter with supplies we already have at home.
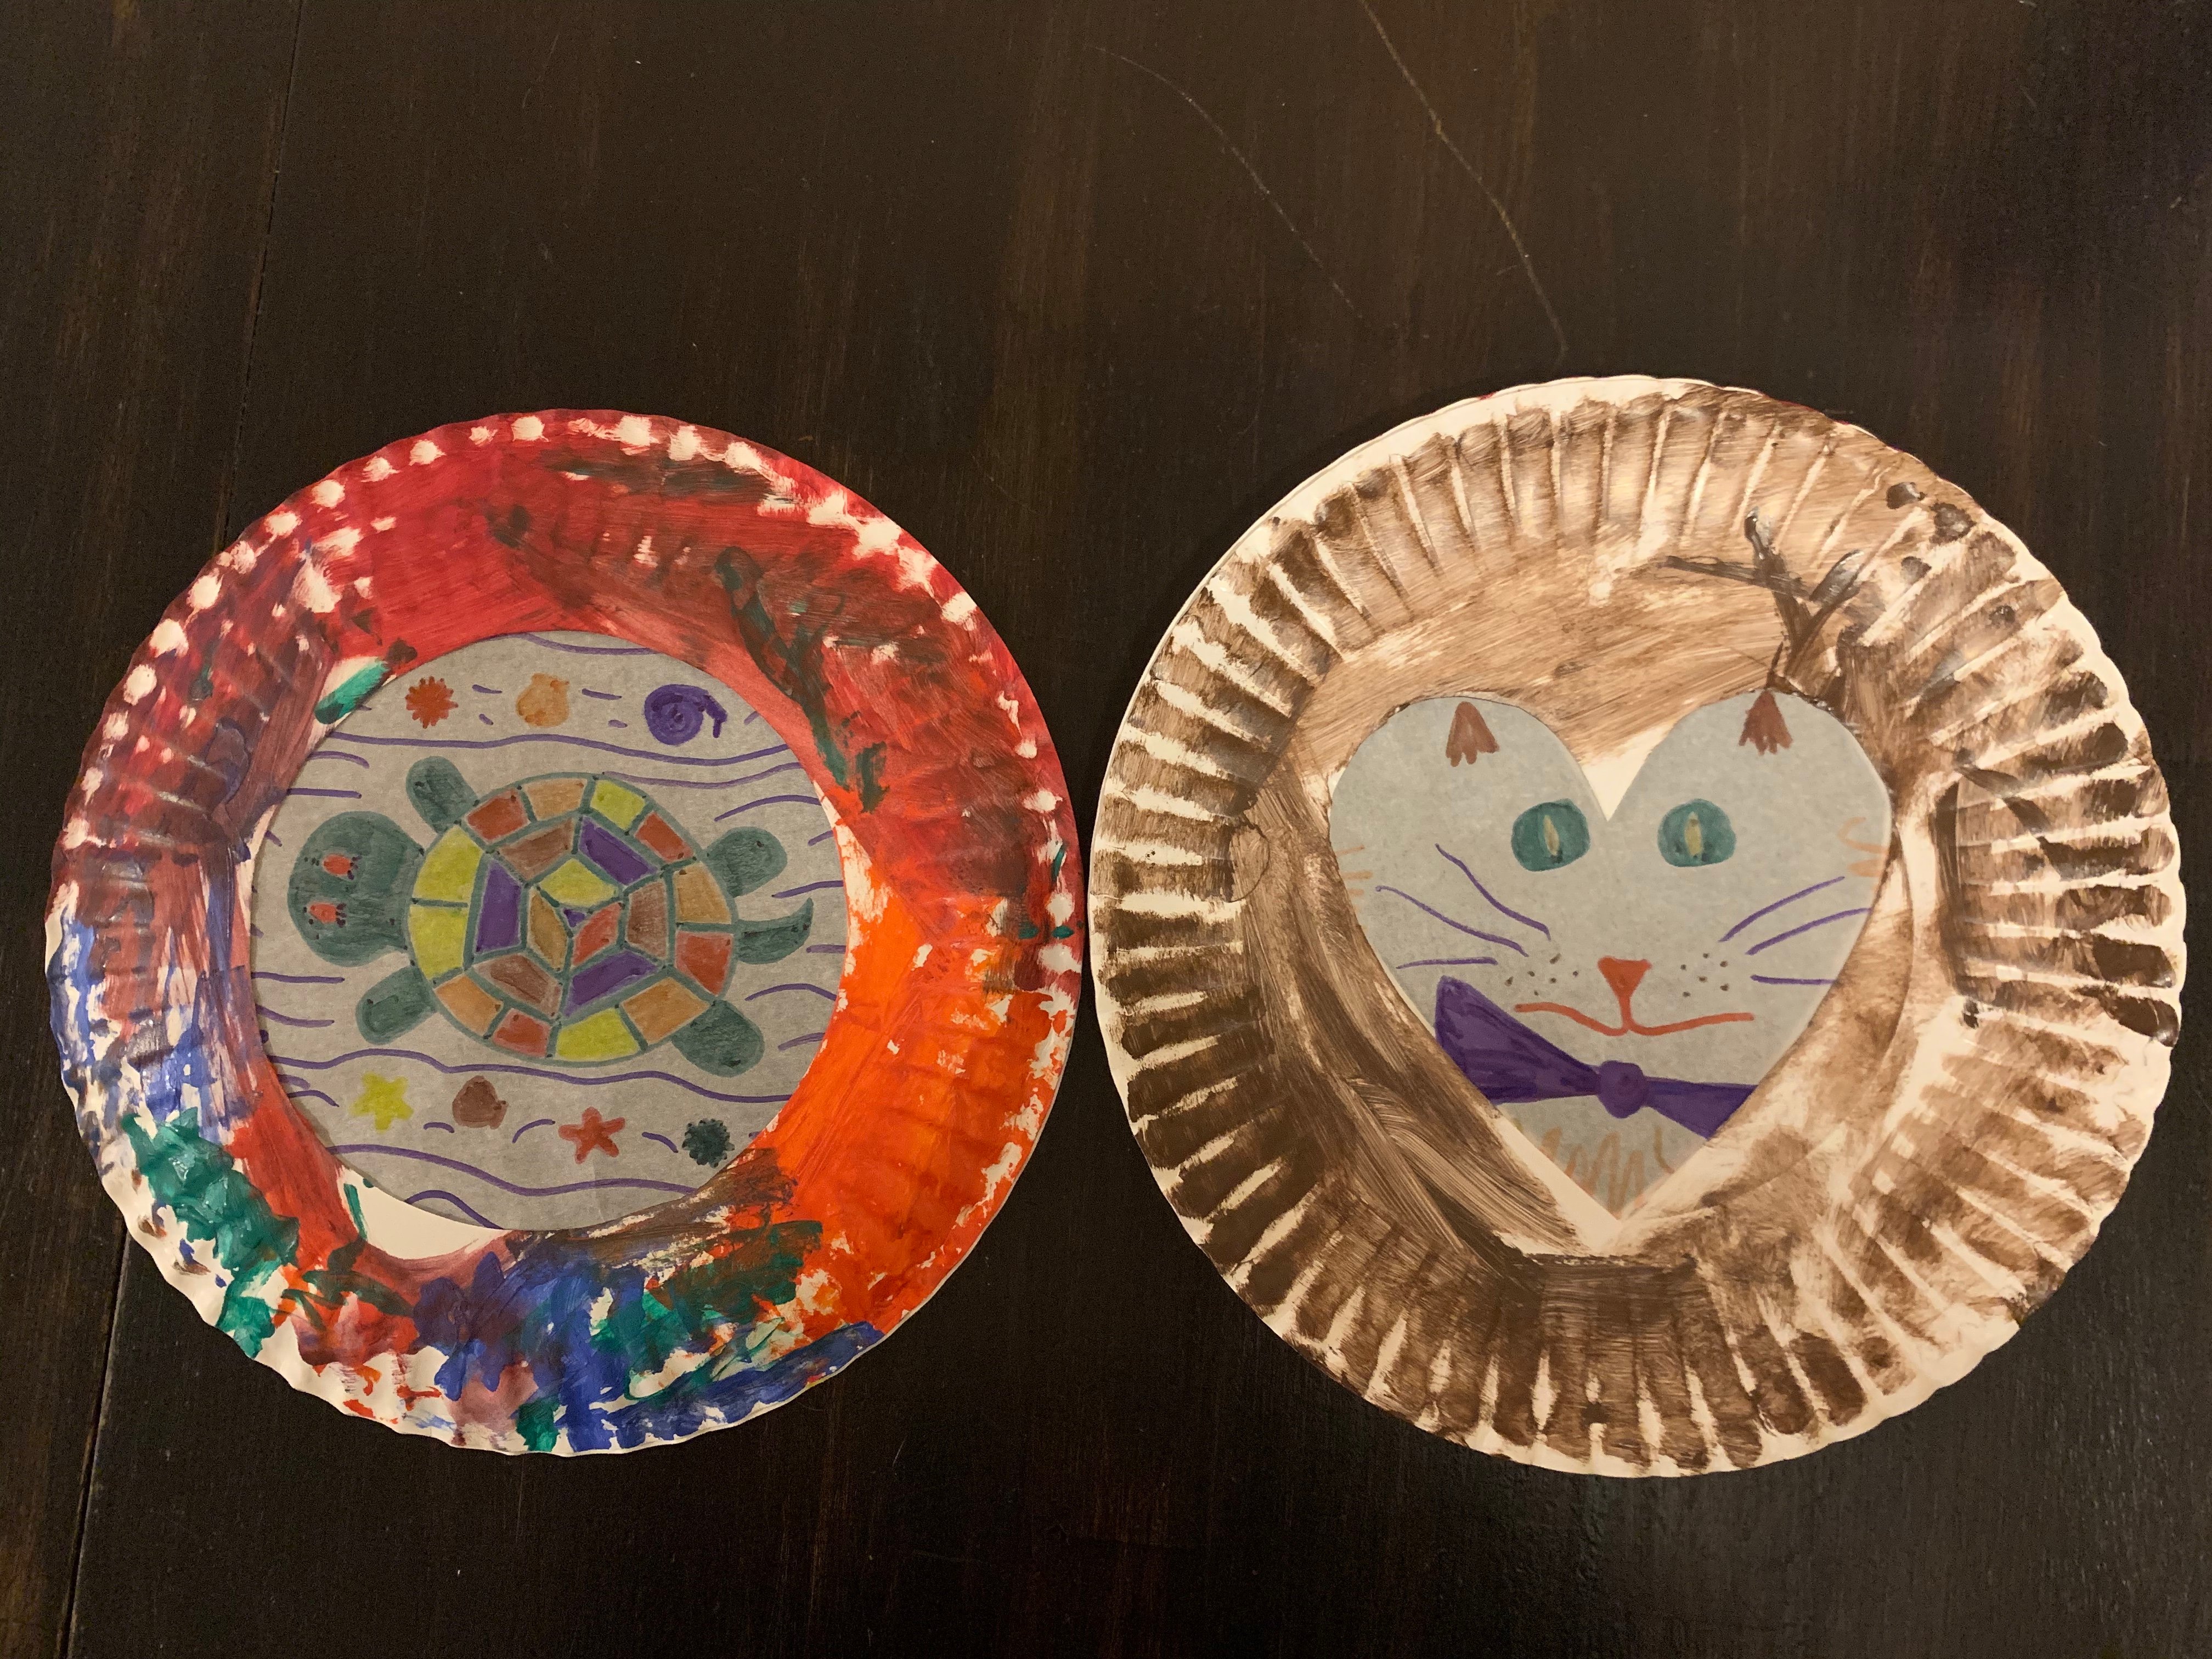
This paper plate suncatcher was fun to make and looks great hanging in our window!
Here's how we did it:
What you need
- 2 paper plates
- Parchment paper (coffee filters or tissue paper will also work, but keep in mind that the thinner the paper, the more easily it tears!)
- Scissors
- Permanent markers in colors of your child's choice
- Paint and a paintbrush
- Glue
- String (ribbon or yarn will work just fine)
- Tape (optional)
- Hole punch (optional)
Instructions
1. Put your two paper plates together and cut a shape out of the middle of both plates. This will make the frame for your suncatcher. (We did one heart-shaped and one circle suncatcher.)
2. Paint the top of one plate and the bottom of the other. (When you assemble your suncatcher, the plates will fit together with the top of one showing and the bottom of the other one showing.)
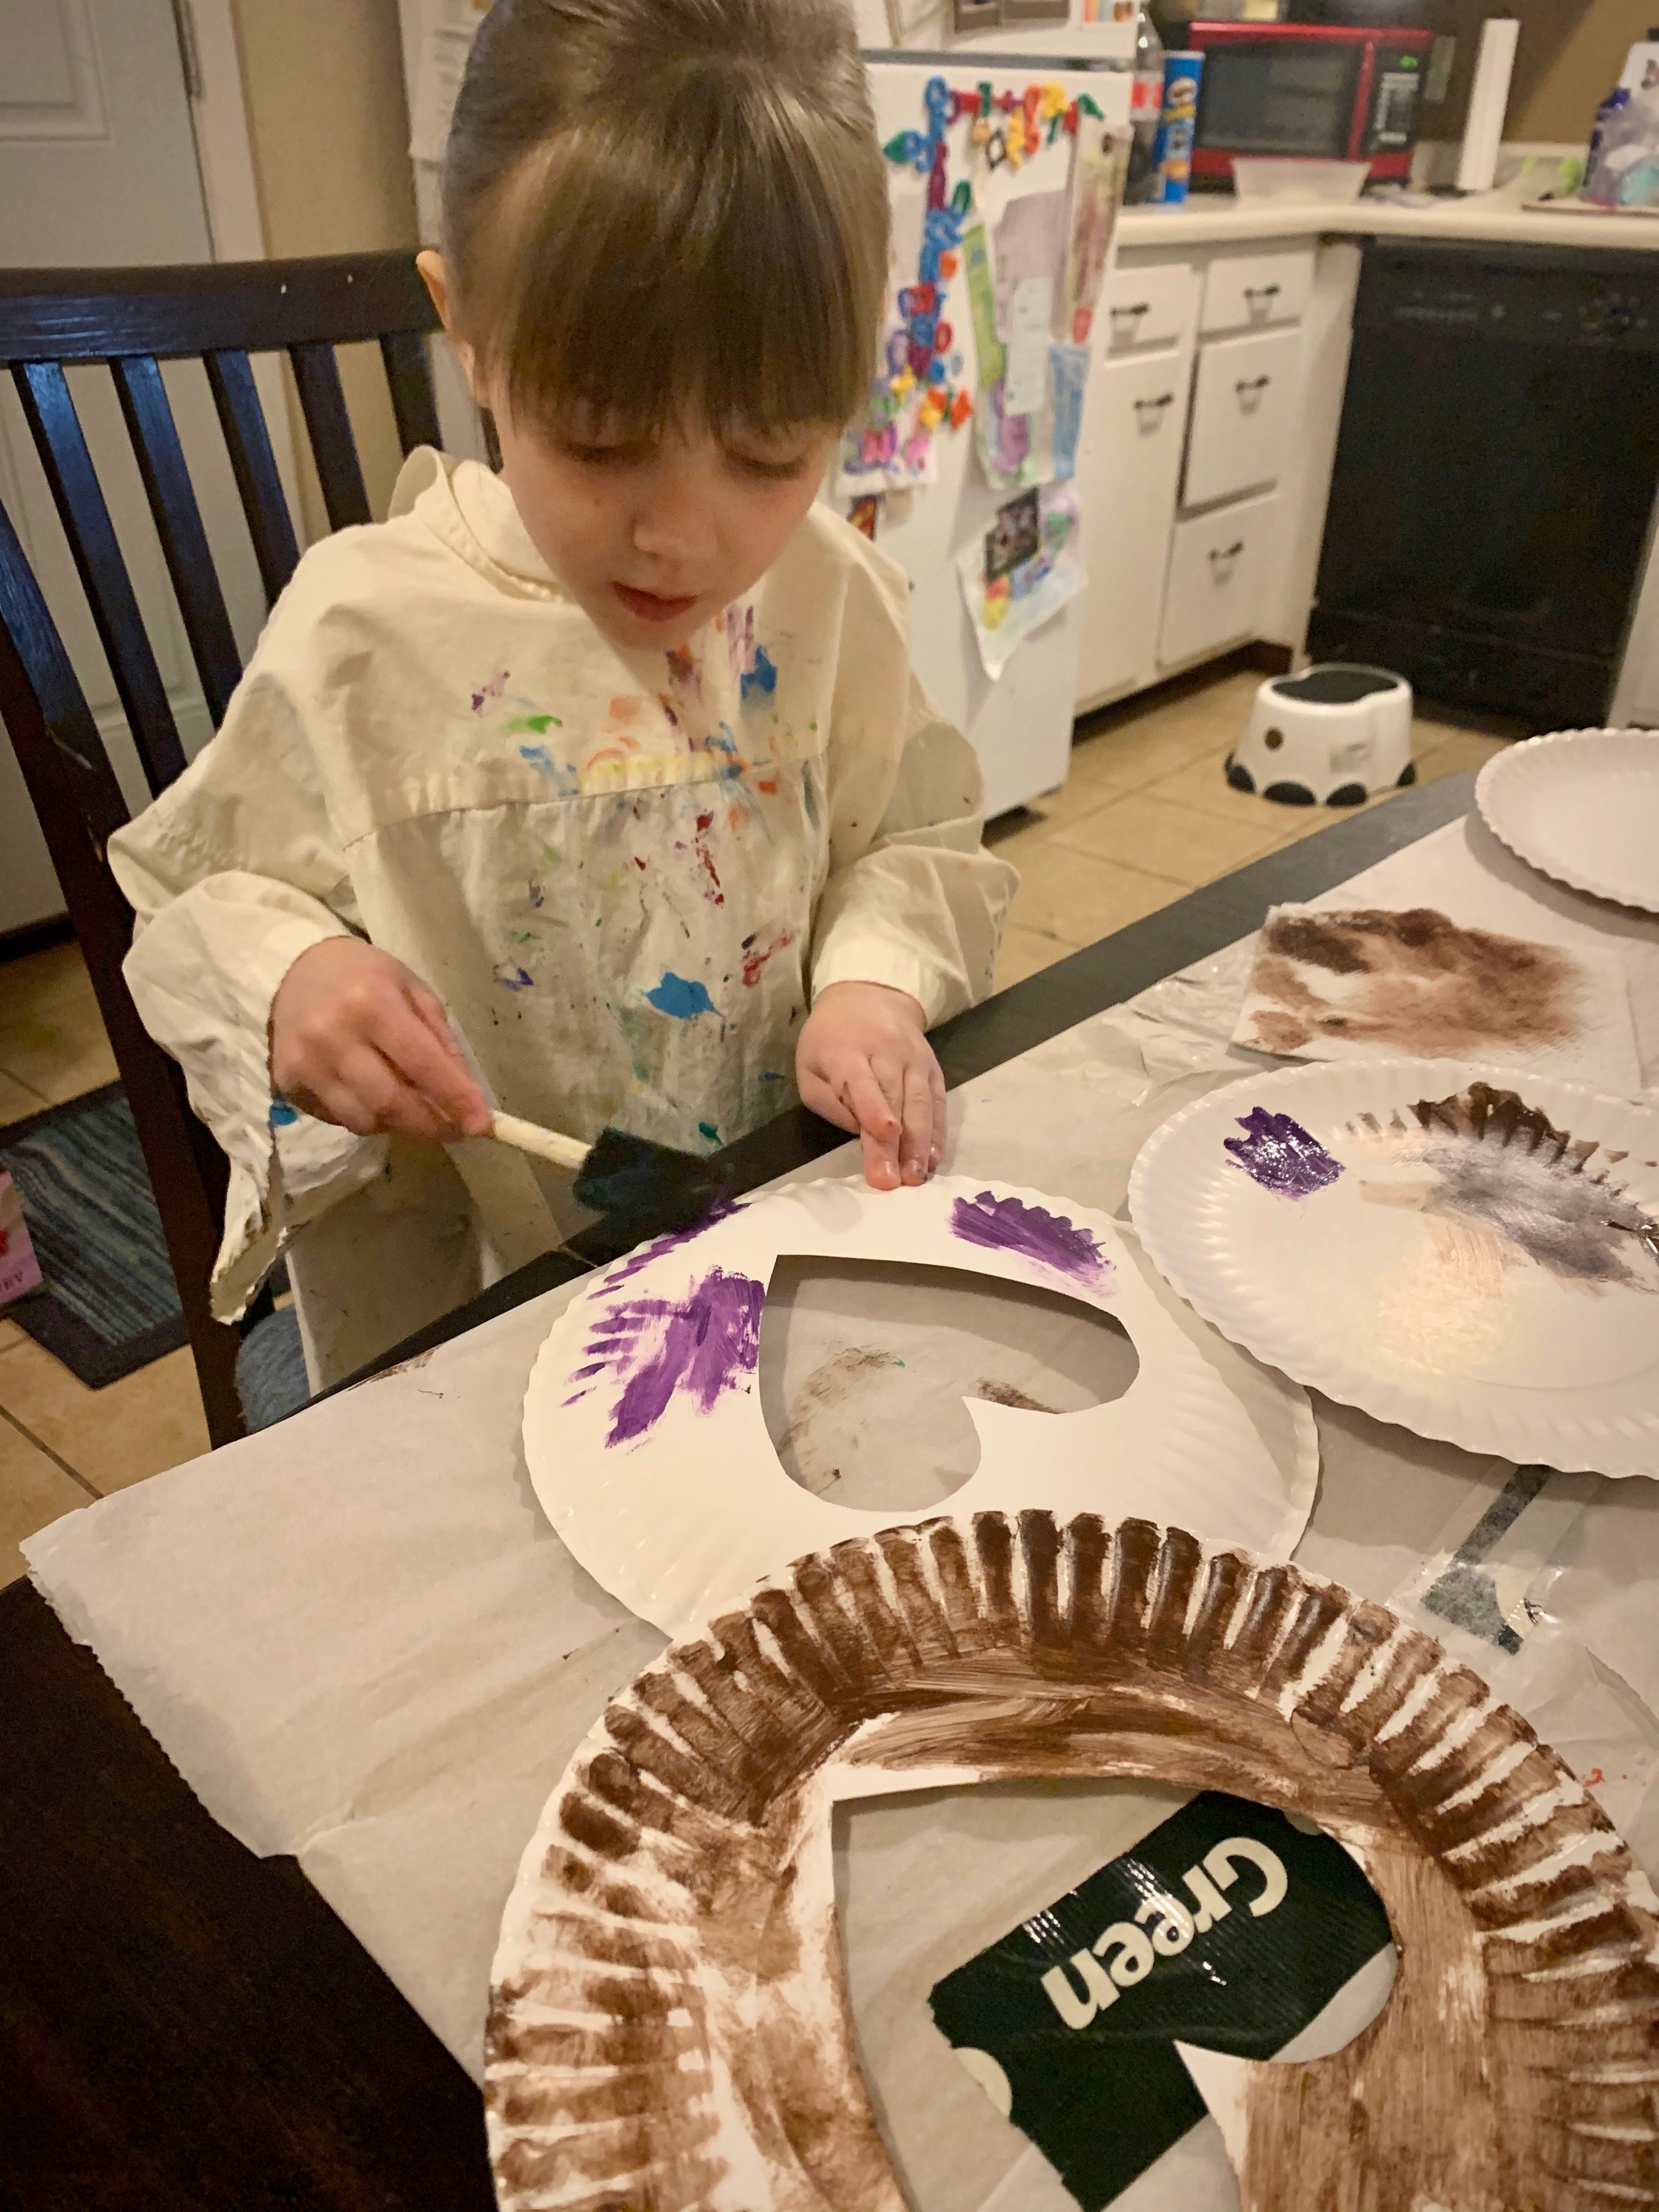 |
3. While the paint is drying, cut pieces of parchment paper large enough to cover your paper plate cutout.
4. Decorate the parchment paper with a design or picture. We found permanent markers work best.
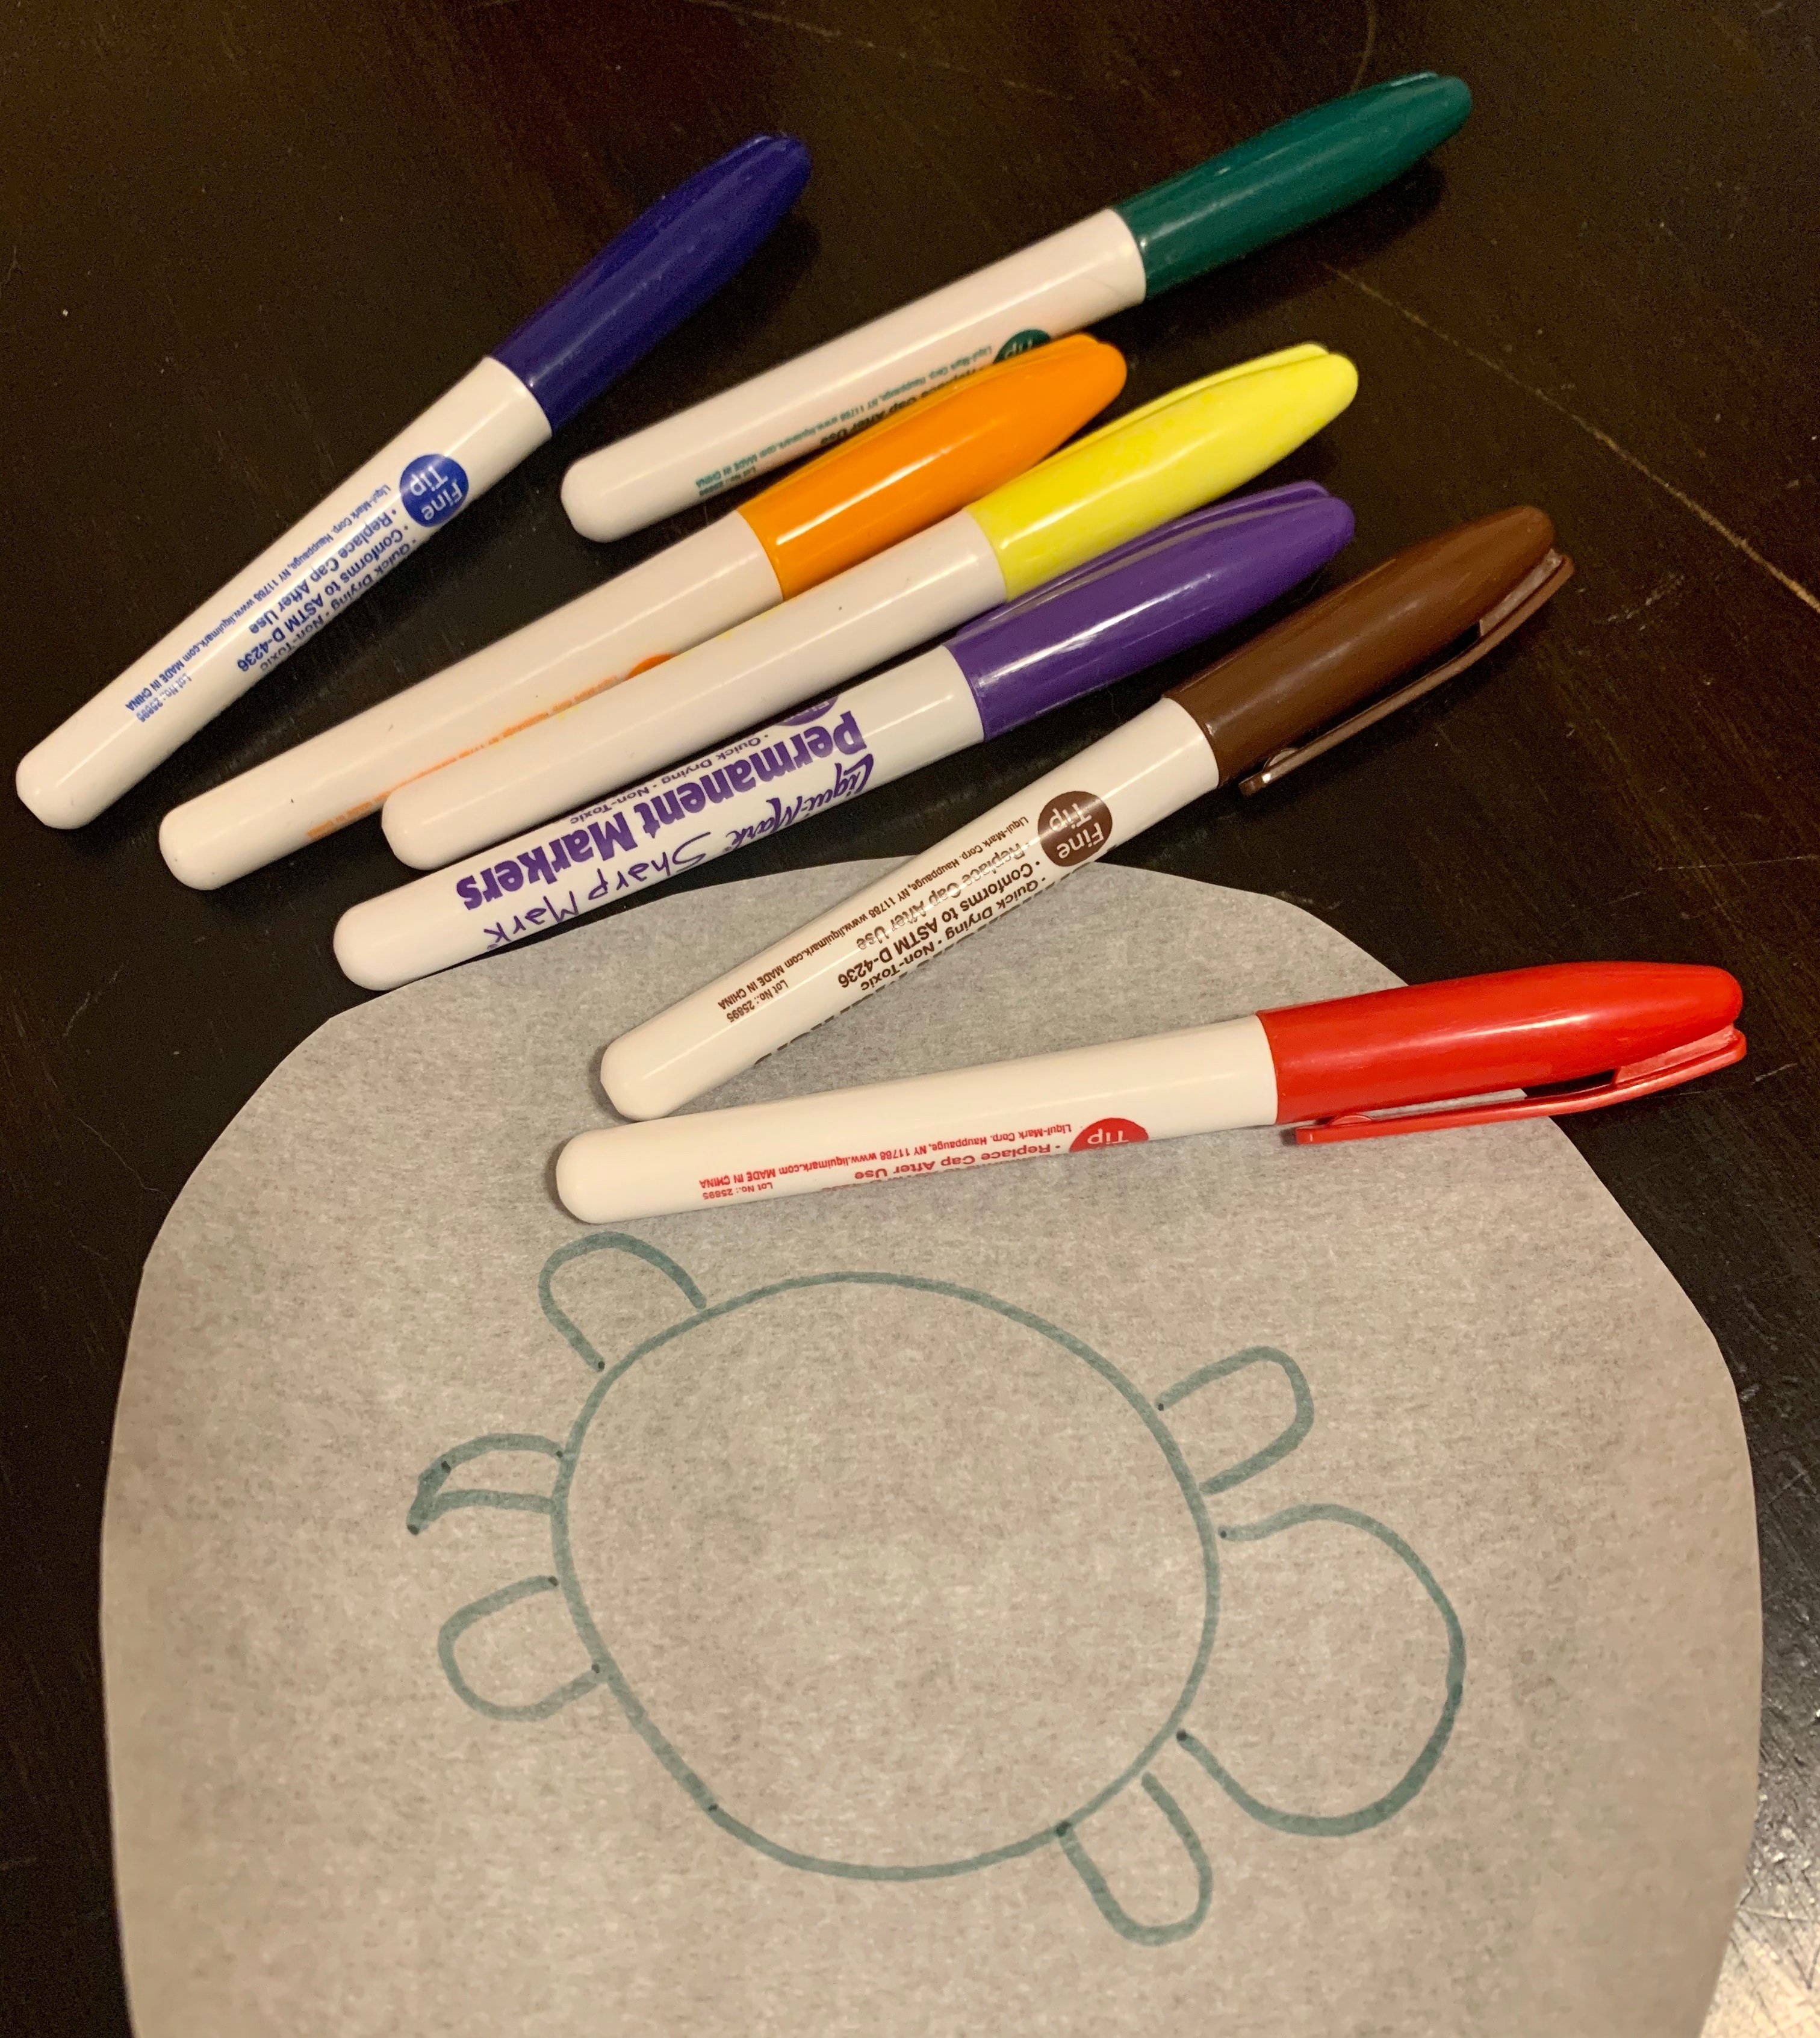 |
5. Assemble your suncatcher! Glue the non-painted side of the paper plates together with the parchment paper between them. (I taped the parchment paper to one of the paper plates first to hold it in place, before gluing the two plates together.)
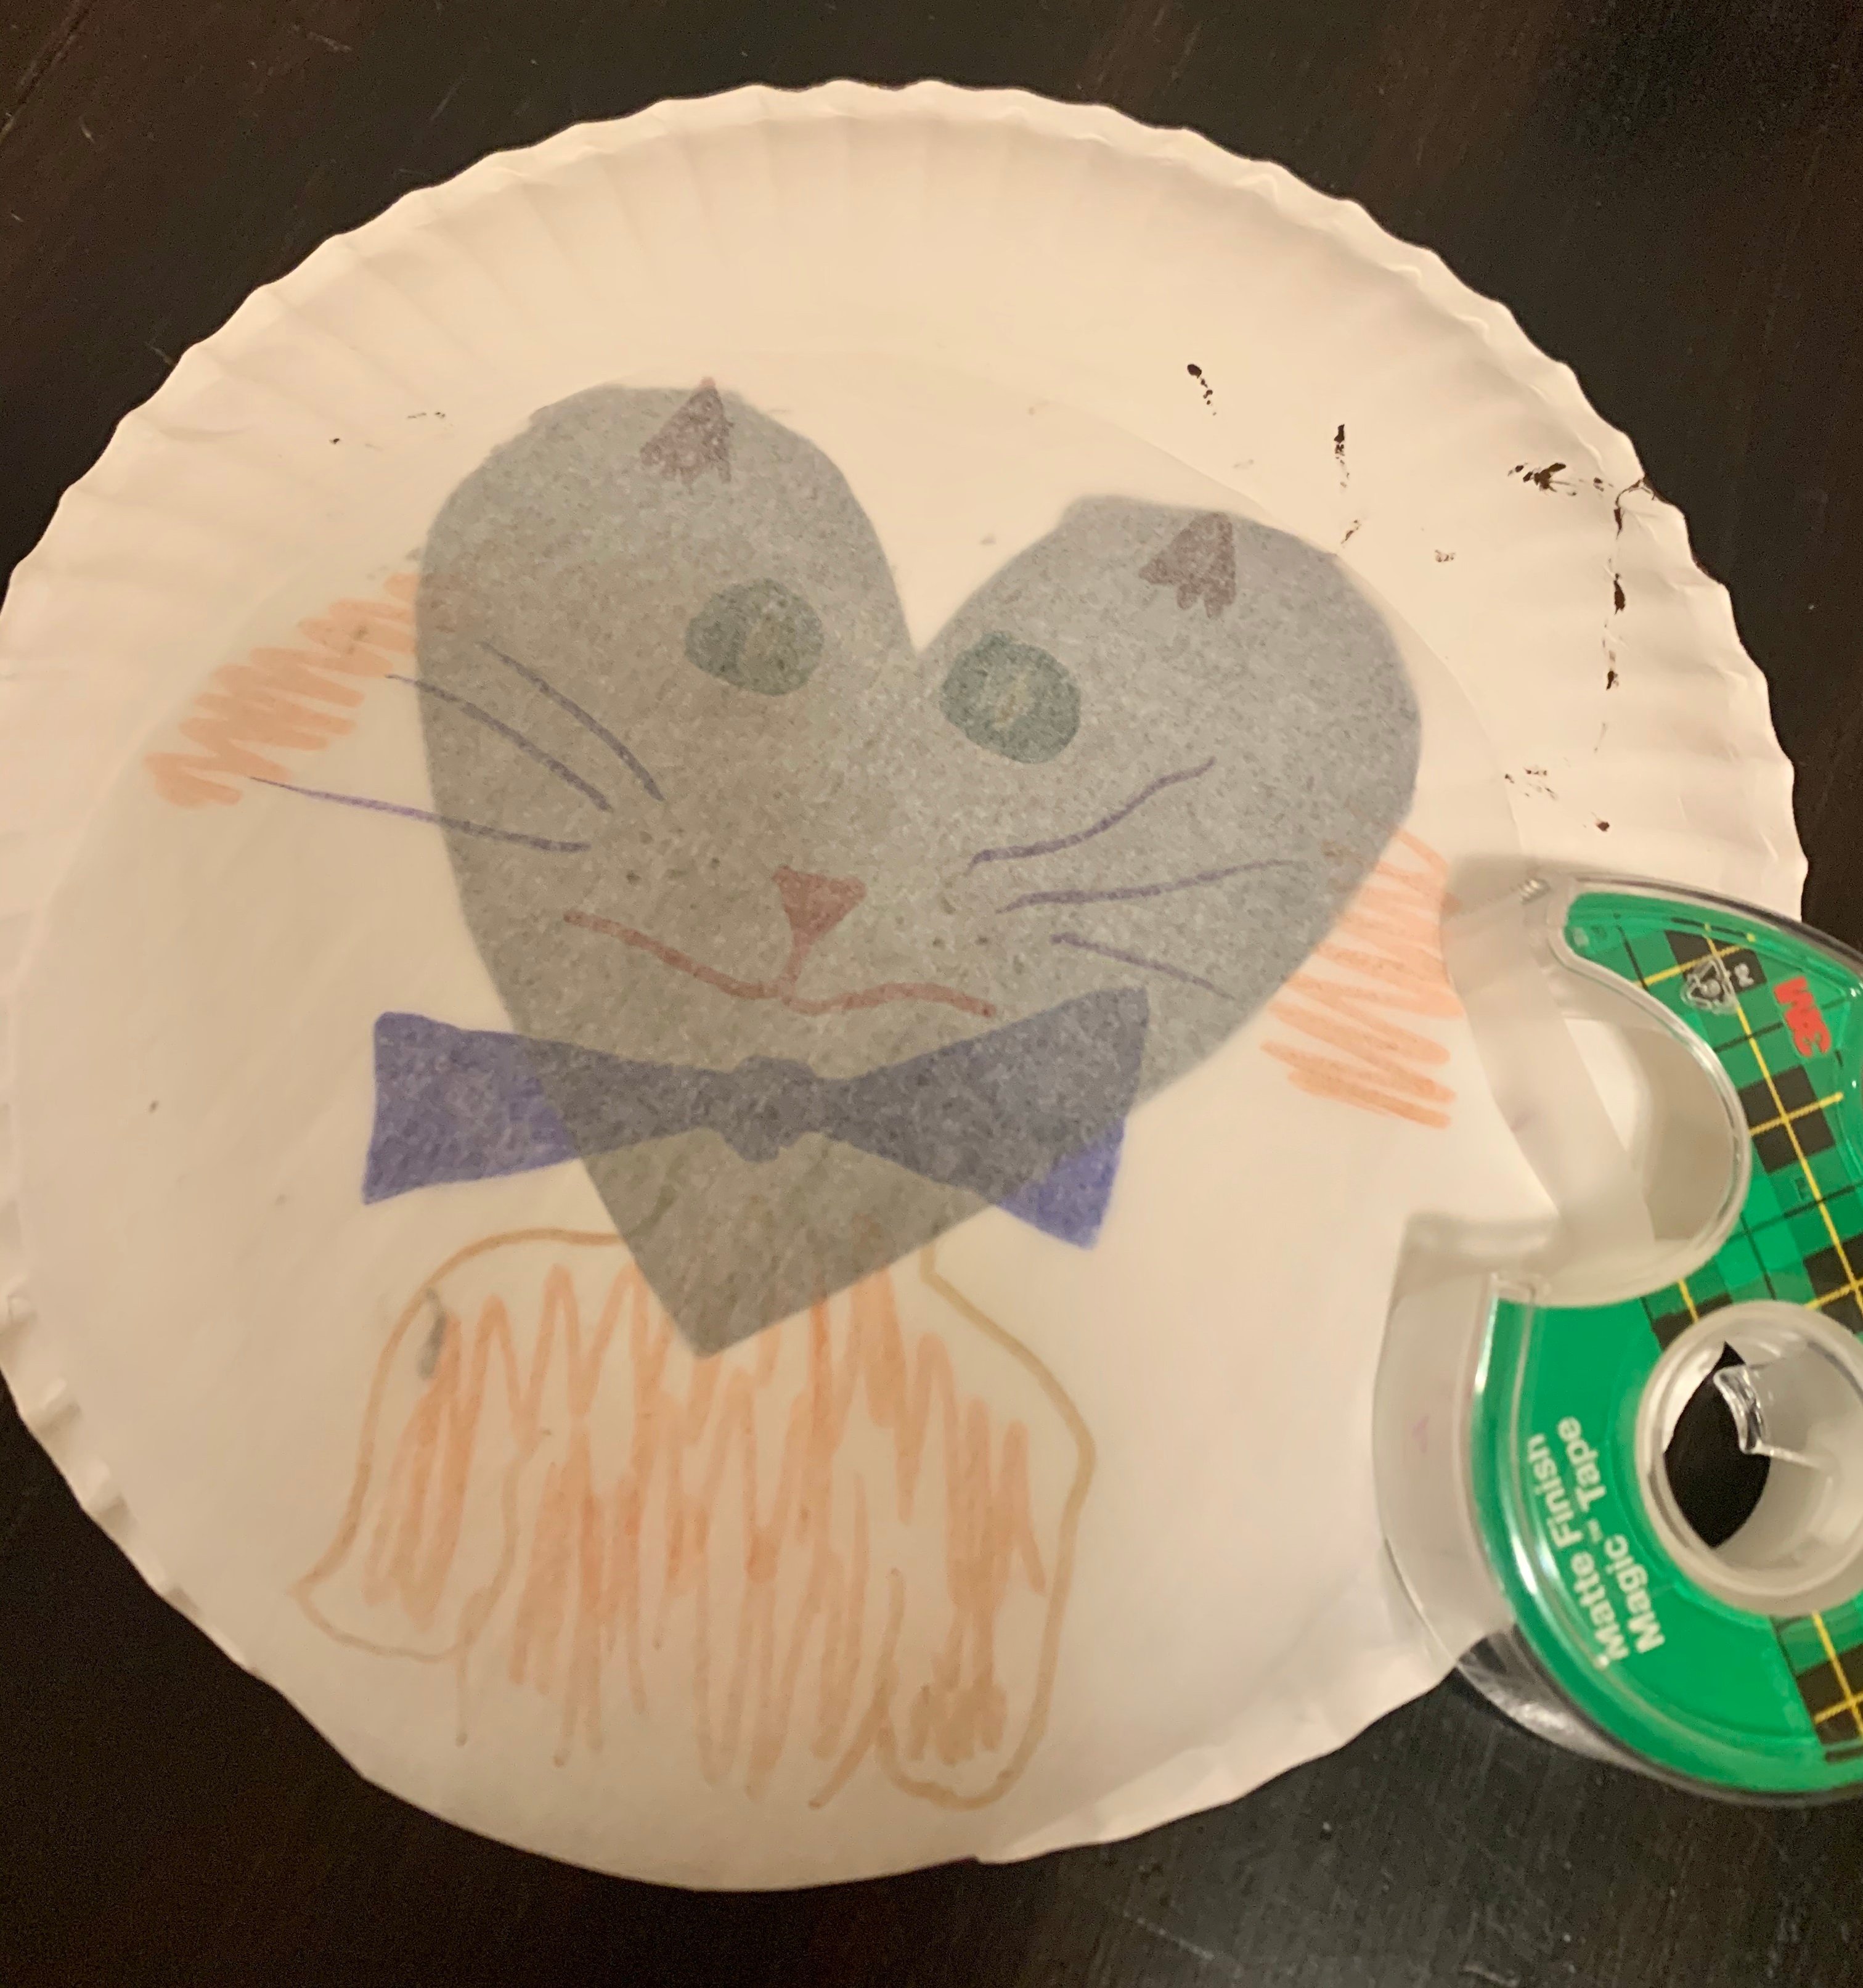 |
6. Punch or cut a hole in the top of the plates. Thread string, ribbon, or yarn through the hole and tie a loop for hanging in a sunny window!
 |
Lindsay Keller is the publisher of Macaroni Kid Skokie, Niles, Park Ridge, and Far Northwest Chicago.

